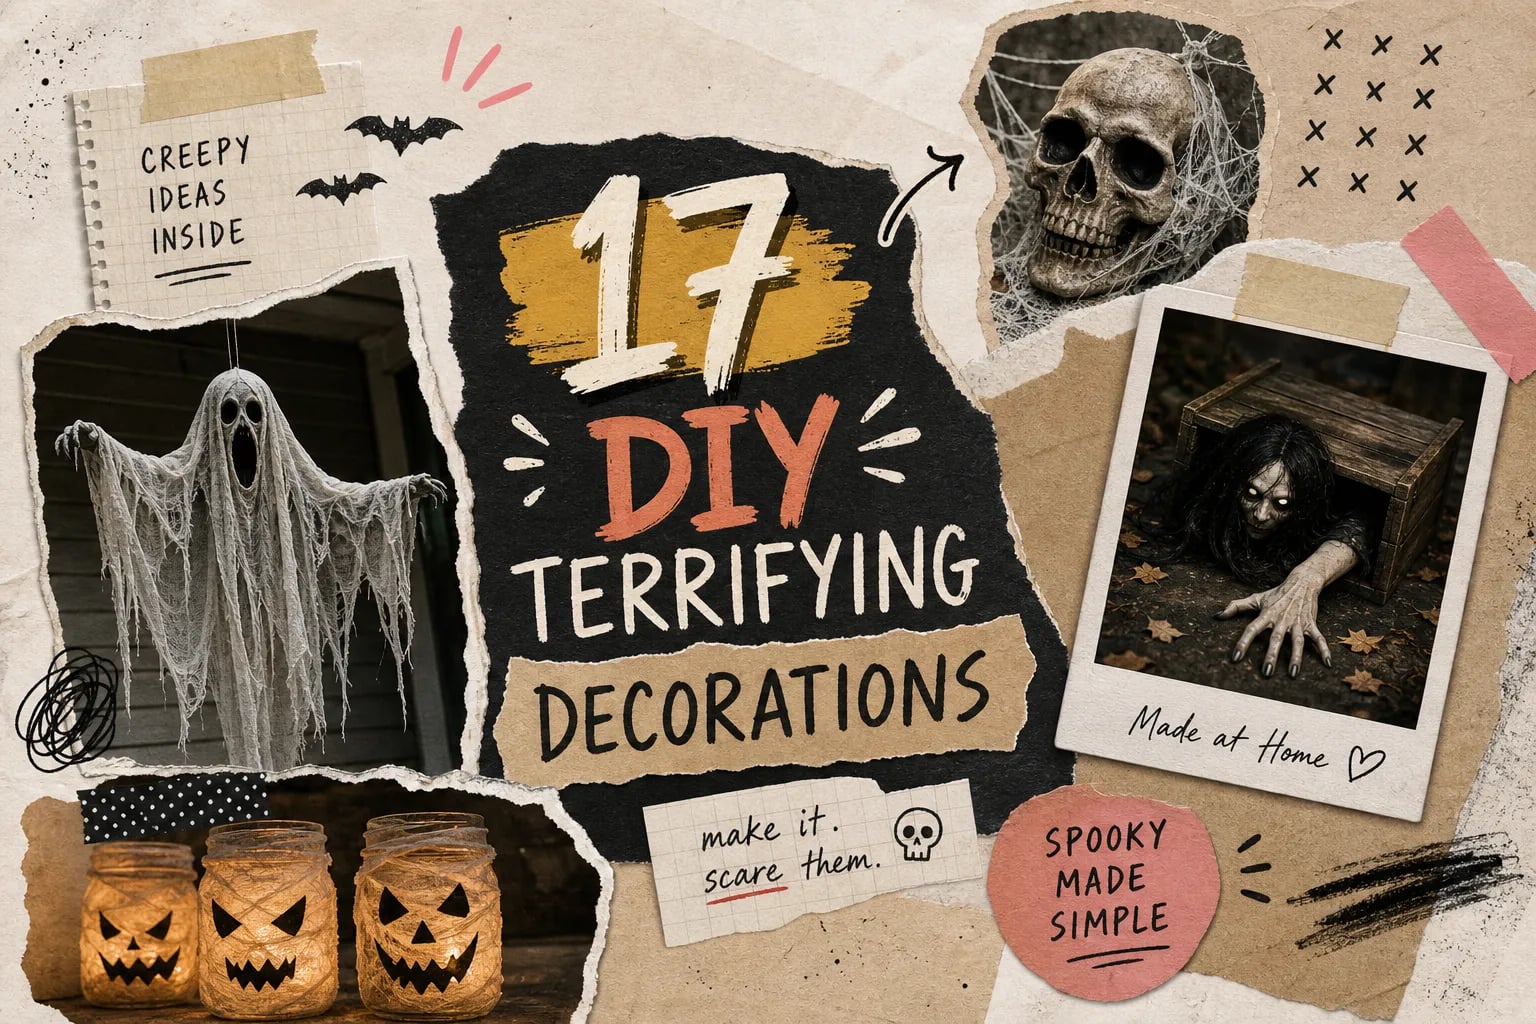
If you’ve ever found yourself staring at your front porch and wondering how do I make scary Halloween decorations at home that actually look terrifying rather than tacky, you’re in the right place. Here at The Dark Threshold, we know Halloween doesn’t start on October 1st. It starts the moment you look at that porch and see what it could become: a threshold between the comfortable and the terrifying. Most people waste that potential on plastic skeletons from a drug store end cap.
You don’t need a professional haunt budget to build something genuinely unsettling. Many of the projects below can be done for under $30 depending on materials you already have on hand, some require additional spend or drying time, but all seventeen builds are organized by skill level and budget. This guide covers everything from quick beginner builds using dollar store materials to full themed environments, including DIY spooky decorations, homemade Halloween props, and scary Halloween crafts that actually survive outdoor exposure. By the time you finish reading, you’ll have three to five specific projects you can execute this season.
What to gather before you start cutting anything
A short prep session before you touch a craft knife makes every project here dramatically easier. Gather your tools, lay down a drop cloth, test any sealants on scrap foam, and make sure adhesives are ready to go before you start. The wrong materials will ruin your work before Halloween night arrives, regardless of how much effort you put in.
Budget tiers for every haunt builder
Three tiers cover every builder, from apartment-renter to dedicated yard haunter:
- $0, $20: Cheesecloth, recycled plastic bottles, printer paper stencils, battery tea lights, fishing line
- $20, $50: Rigid foam insulation board, PVC pipe sections, outdoor acrylic paint, fabric stiffener, Mod Podge
- $50+: Chicken wire rolls, powder-coated metal stakes, fog machine or ultrasonic humidifier, LED spot kits, GFCI adapters
Core materials that hold up outdoors
PVC pipe builds the best frames: lightweight, inexpensive, and structurally solid. Chicken wire shapes figures and oversized forms. Rigid foam insulation board cuts into convincing tombstones. None of these fail in rain or wind the way cardboard and plain paper do.
Outdoor-rated acrylic paint and clear polyurethane sealant are non-negotiables. Seal every cut foam edge. Use exterior-grade adhesives. Anchor anything likely to catch wind or taller than about waist height with a stake or rebar. Unsecured props in a wind gust don’t just get ruined, they become liabilities.
Safety before you plug anything in
Use GFCI outlets or adapters for every outdoor electrical connection. Choose LED-only lights near fabric props, foam, or paper, and keep all connections elevated off wet ground. For dry ice: insulated gloves, tongs, and an outdoor or well-ventilated space only. Never store dry ice in a sealed container. These practices separate a haunt that runs all night from one that creates a serious problem.
How to make scary Halloween decorations at home, beginner builds
No power tools. No prior craft experience. Dollar store materials and an evening of your time. Note that a few of these beginner builds, particularly the cheesecloth ghost, require overnight drying time, so plan accordingly. The assembly itself is quick; the waiting is where the clock runs.
1. Cheesecloth hanging ghost
Inflate a balloon for the head form. Dip cheesecloth sections in fabric stiffener, squeeze out the excess, and drape them over the balloon in loose layers. Let it dry completely overnight before popping the balloon, then hang it on clear fishing line from a porch beam or tree branch. Tuck a battery tea light beneath the form. Keep the lower edges uneven and trailing: a clean hemline turns a haunting into a craft fair display. Keep facial features minimal, two rough dark marks for eyes preserve the apparition effect better than anything detailed.
2. Fake blood splatter wall
A bottle of fake blood and a stiff-bristle brush transform any wall into a crime scene. Flick the brush sharply for spatter patterns, drag it for smear effects, and build layers for depth. Butcher paper panels and plywood panels both accept fake blood cleanly; test on a small area first before applying to painted walls, and use water-based products on interior surfaces for easier cleanup. Frame the wall within a doorway so guests walk through the scene rather than around it. For a DIY mix, combine corn syrup with red food dye and a small amount of blue or black dye to push the color toward dark arterial red.
3. Printable Halloween stencils and tombstone yard markers
Type epitaphs in a large serif font in any word processor, print at full size, and use the printable Halloween stencils as guides by tracing the letters onto foam board with light pen pressure to transfer the outline. Cut the tombstone shape, stake it to the ground, and apply gray spray paint over a flat primer base. A few epitaphs in the spirit of this site: “He read the warning and continued anyway.” “Here lies her patience. It did not survive October.” “Gone, but not as far as she hoped.”
4. Skull lantern path markers
Spray-paint recycled plastic bottles white or gray, draw rough eye sockets with a black marker, and drop a battery tea light inside. Line them along a walkway at ankle height. At dusk, the effect reads as a row of disembodied skulls rather than a craft project, especially when the light catches the translucent plastic from inside.
5. Draped cheesecloth furniture covers
For interior or covered porch setups, drape stiffener-soaked cheesecloth directly over chairs, side tables, and lamp bases and let the fabric dry in place. Under dim or red-tinted bulbs, it reads as a long-abandoned space rather than a decorated one. This requires zero tools and produces a result that photographs well for anyone documenting their setup.
6. Battery LED pumpkin inserts
Replace open-flame candles in carved pumpkins with flickering battery LED bulbs. They eliminate fire risk near dry leaves and props, and many models can last a full evening on a single set of batteries, check manufacturer specs for your specific bulbs. They also produce a warmer glow than fixed-brightness LEDs, though results vary by brand. A simple swap that every display benefits from.
Make scary Halloween decorations at home, intermediate builds
These projects take two to four hours and involve a utility knife, wire cutters, or a basic drill. The payoff is a significantly more cinematic result. If you’ve been wondering how to step up your homemade Halloween props beyond the basics, this is where the real transformation happens.
7. Life-size wireframe apparition
Shape a torso and rough arm extensions from chicken wire, then run PVC pipe sections through the center for internal structure. Drape multiple layers of stiffener-soaked cheesecloth over the frame and extend wire arms into a reaching position before the fabric sets. Place a battery LED inside the head cavity and a ground-level uplight spot below the figure. Hang the completed form on clear fishing line. The layered glow from two light sources creates depth that a single candle never achieves.
8. Aged foam tombstone with convincing stone finish
Cut a tombstone shape from rigid insulation foam and mount it on a small wooden base with dowel stakes. The aging sequence: gray base coat, solvent-based stone-texture spray (the solvent content slightly melts the foam surface, creating realistic pitting, test on a scrap piece first, since water-based sprays won’t produce this effect), dark wash brushed into all crevices, dry-brushed lighter gray over raised edges, and watered-down brown along the base to simulate staining. Rough up edges with sandpaper before painting. Transfer your printed epitaph by taping it to the foam and tracing with a pen; carve the impressions with a craft knife before painting them black for contrast.
9. Dry ice floor fog
Place a low, wide plastic tub outdoors in a ventilated area. Fill it with hot water and use tongs to add small dry ice pieces gradually. Direct the fog with a small battery-powered fan. The carbon dioxide output is heavier than air and hugs the ground naturally, creeping across the yard rather than rising. Always use insulated gloves, never seal dry ice in any container, and keep children and pets clear of the setup.
10. Fog machine with directional rig
A portable fog machine paired with a small fan gives the most consistent output across a full evening. Position it low and direct the flow toward your featured props, not into foot traffic areas. Fill the fluid reservoir in advance and allow a few minutes of warm-up time before guests arrive so you’re not interrupting the display at peak hours. Most standard fog fluid reservoirs provide 30 to 60 minutes of continuous output per fill, depending on the unit. This is the most reliable option for a long-running outdoor setup.
11. Chicken wire monster silhouette
Bend heavy-gauge chicken wire into a rough humanoid form: hunched shoulders, elongated arms, a suggestion of a lowered head. No fine detail is required. Stake it at the back of your yard and uplight it from below. At distance and in dim light, the form reads as an actual figure, particularly when the shadow falls across a wall or fence behind it.
12. Printed warning sign panels
Print institutional-style signs in bold type: “WARD C, DO NOT ENTER,” “BIOHAZARD, AUTHORIZED PERSONNEL ONLY,” or unexplained numerical codes with no context. Laminate them or mount on foam board for weather resistance. Placed in unexpected spots along a walkway or fence line, they establish dread before any prop is visible.
Lighting setups that shift the entire atmosphere
Lighting is the fastest way to elevate every other build on this list. A well-placed LED can turn a foam tombstone into something genuinely threatening.
13. Outdoor LED safety rig
Use outdoor-rated extension cords with GFCI adapters for every plugged-in element in your display. Keep all connections elevated off the ground, especially before and after rain. For LED runs under 50 feet, 16-gauge outdoor cord handles the load. For longer runs or higher-draw items like fog machines or animatronics, step up to 14-gauge or 12-gauge cord. Battery-powered LEDs for tombstones and path markers eliminate the extension cord risk entirely for remote spots.
14. Placement strategy that creates actual dread
Uplighting from ground level on hanging props and fog effects produces the most unnatural shadows. Darkness does more work than brightness. A single spotlight on your wireframe ghost creates more fear than a yard full of string lights. For color: deep red for blood-soaked interiors, sickly green for forest setups, flickering orange for fire effects. Never light everything evenly, contrast and shadow are the real tools, and the most common mistake in amateur displays is eliminating both.
Three themed environments built from what you’ve already made
Single props are good. A complete themed environment is unforgettable. These three setups tell you exactly which projects to combine and how to arrange them. This is where budget Halloween decor ideas stop looking like decorations and start looking like experiences.
15. The haunted asylum
Pull the blood splatter wall, printed warning signs, and uplighting together. Add cheesecloth restraints tied to chair arms, clear IV bags filled with red-dyed water hung from hooks, and printed institutional case files left open on surfaces. Use cold-white flickering LEDs to mimic failing fluorescent lighting, the cold color temperature and irregular flicker are the visual cues that register as institutional and unsettling. Place props at eye level and below: asylum horror works close and claustrophobic, not spread across a wide yard.
16. The cursed forest
Anchor your wireframe ghost and chicken wire monster silhouette among yard trees or foam-board cutout tree shapes staked at intervals. Run dry ice floor fog along the ground between the figures. Line the path with skull lanterns. Stake aged foam tombstones in irregular clusters, not neat rows. Use deep green and dark purple uplighting throughout. Build foreground, midground, and background prop layers so the yard reads as a forest you’re entering, not a display you’re walking past.
17. The occult ritual chamber
Print sigil designs onto dark fabric panels and hang them as a backdrop. Build pillar candle clusters from foam cylinders painted to look like stone, each one housing a battery LED candle inside. Drape stiffened cheesecloth over nearby furniture. Keep the palette locked to red, black, and aged gold. This setup transforms a doorway or covered porch into something that reads as fully immersive even at a narrow footprint.
Where to go when you’re ready to go deeper
The seventeen builds here give you a strong foundation. For readers who treat Halloween as a year-round aesthetic rather than a one-night event, there’s considerably more ground to cover beyond individual props.
The Dark Threshold’s Halloween content hub covers the full spectrum of horror-inspired home styling: haunted house builds, gothic aesthetic guides, dark interior design, and the cultural horror traditions from around the world that inspire the most effective setups. It’s built for readers who want to move past seasonal decoration and into a cohesive horror lifestyle. Bookmark it before November hits, because the content doesn’t stop when the candy runs out.
Build your threshold, not just your yard
You now have a clear map of seventeen specific projects, organized by budget and skill level, with the material choices and techniques that hold up through wind, rain, and a full October. The best Halloween setup doesn’t come from buying everything and scattering it across the lawn. It comes from choosing three to five builds with intention and executing them well.
Now that you know how to make scary Halloween decorations at home, from quick beginner scary Halloween crafts to complete themed environments, the only thing left is to start. Pick one beginner build tonight. Pick one intermediate project to work toward by the end of the week. Before the month peaks, you won’t just have a decorated house. You’ll have a threshold.
Leave a Reply