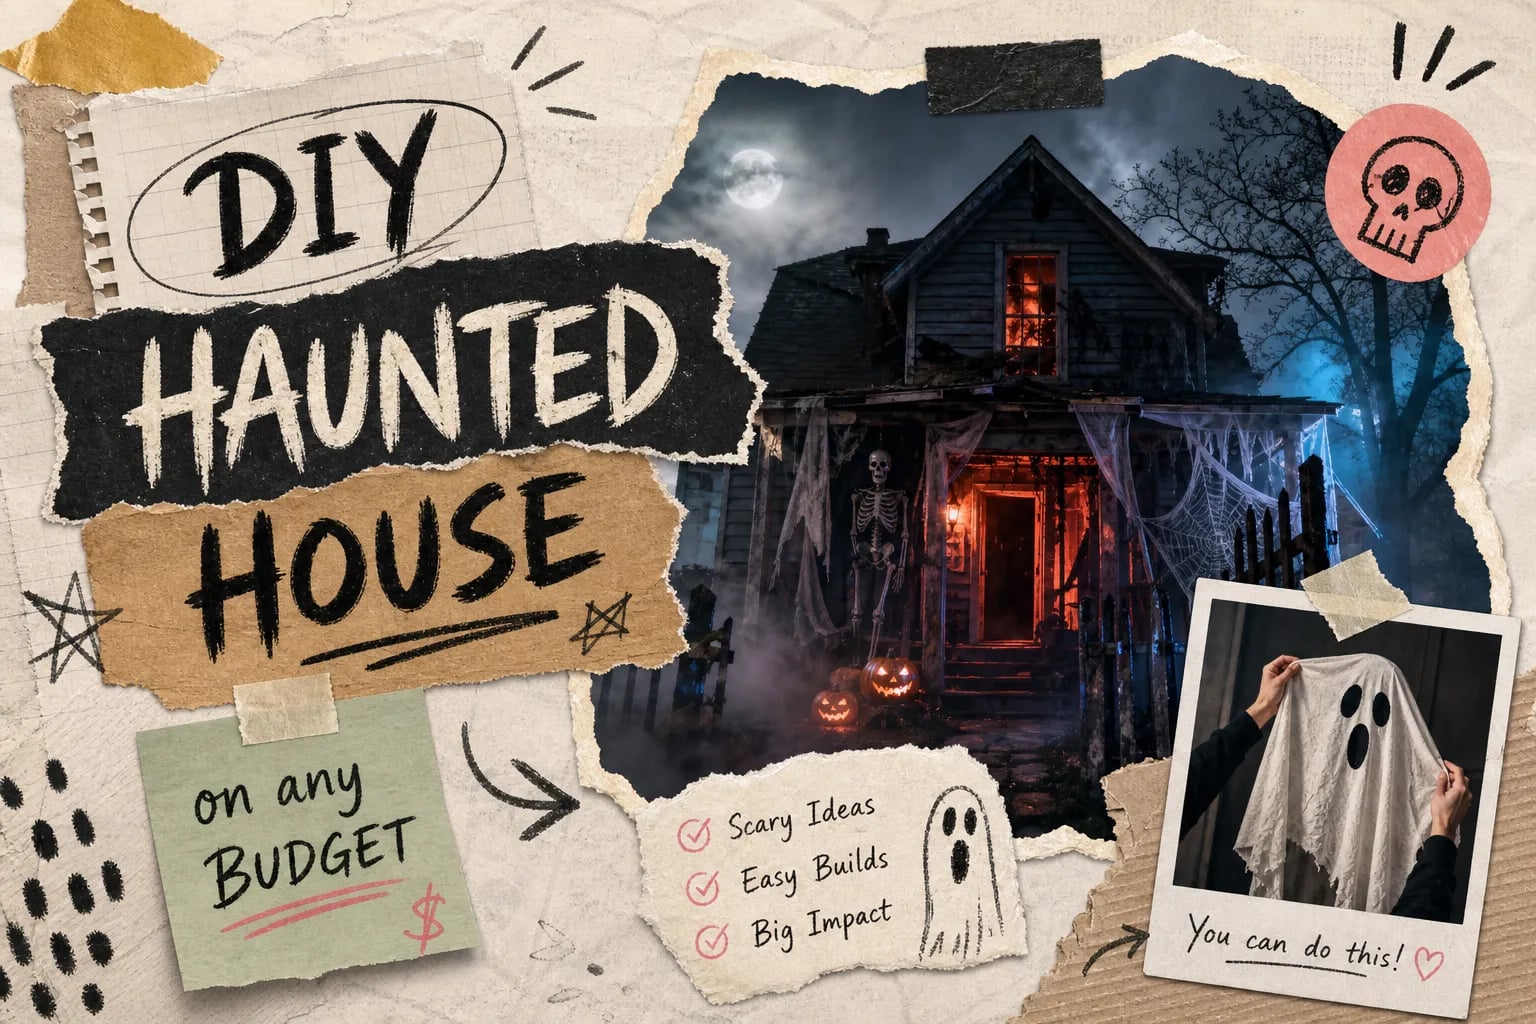
There’s a wide gap between a few plastic skeletons zip-tied to a porch railing and a haunted house that genuinely frightens people. This halloween haunted house diy guide exists because most setups fall short, not because of budget, but because of approach. Scattering props around a room without a plan produces clutter. Building a haunt with intention produces an experience guests remember weeks later.
At The Dark Threshold, haunt-building has always been treated as a craft with its own language, standards, and creative arc. This guide is written for that mindset: practical, specific, and built around what actually works. Whether you have $80 or $800, the framework is the same. Plan your emotional arc first, invest in environmental fear before individual props, then build your signature pieces with confidence. No filler. Just the builds that deliver.
Halloween Haunted House DIY: Plan Your Haunt Before You Buy a Single Prop
Planning is what separates a chaotic pile of decorations from an experience guests move through with a specific emotional arc. Before any shopping, sketch a rough floor plan and identify which spaces earn the highest scare payoff per square foot. The entry establishes tone, a single hallway creates forced movement and disorientation, the bathroom is your isolation chamber, and the yard sets the curb-appeal horror that draws people in before they reach the door. Assign each zone a “scare role” first, then spend accordingly.
What a Small, Medium, and Large Setup Actually Costs
Small setups run $100 to $500 in materials and take two to eight hours to build. Medium haunts land between $500 and $2,000 and require one to three full days of work. Large, walk-through builds with framed walls, multiple lighting zones, fog, and sound typically exceed $2,000 and can take two to six weeks. These figures are drawn from real budget testing across haunt builds at each tier. The number that matters most is reusability. Every tombstone, lighting rig, and silhouette you build this season is worth maintaining for several seasons to come, provided you store it correctly and build with durable materials. Start small, build smart, and expand each year by one strong addition rather than starting over.
Room-by-Room Design: Where the Real Scares Live
Each room needs a single purpose. An abandoned parlor, a graveyard hallway, a disturbing kitchen, a bathroom reveal, each lands harder than a room where everything is decorated equally. Control your sightlines using curtains, partitions, or furniture so guests cannot see the next scare from the current one. Hallways and doorways are especially valuable because guests naturally funnel through them with their attention already narrowed. Design your exit route last and make the final space lower intensity, so guests decompress after the climax rather than stumbling out disoriented.
Dollar-Store and Hardware Store Supplies That Go the Distance
The most reusable low-cost materials are XPS insulation foam, cardboard, cheesecloth, black trash bags, battery-powered tea lights, plastic spiderwebs, and spray paint. These punch far above their price point for texture, structure, and atmosphere. Hardware store foam insulation gives you sculptable tombstones and wall panels. Cheesecloth gives you ghost silhouettes, draped surfaces, and texture on props. Black trash bags transform walls, windows, and ceiling sections in minutes. Buy these in quantity and treat them as your base inventory for every future season. They are the foundation of any solid budget Halloween haunted house.
DIY Haunted House Ideas With the Highest Scare-Per-Dollar Return
Not every prop earns its keep. Every haunt builder who pushes past the prop-shopping phase reaches the same conclusion: the highest-impact projects are almost always environmental rather than prop-based. They change how guests feel inside a space rather than giving them something specific to look at. Darkness, disorientation, and sound outperform elaborate props in every cost-to-scare calculation. Build the environment first. Props are finishing details.
Halloween Haunted House DIY Projects: Fog, Darkness, and Sound Design
A handful of environmental modifiers raise the impact of everything else in your haunt, and they are the first things worth spending on. A well-placed fog machine drifting across the base of a dark hallway costs roughly $85 to set up; it increases spatial ambiguity, enhances silhouette effects, and improves light diffusion in ways that make every other element read more threatening. Strategic darkness, accomplished by blacking out windows with trash bags or foam board, costs almost nothing and eliminates the “safe” feeling guests carry in from outside. A looping horror soundscape played through a Bluetooth speaker adds an immediate sense of threat to every room it reaches. Build these foundations before purchasing a single prop.
Hallway Effects and the Bathroom Jump Scare
A hallway packed with dangling fabric strips, hanging props, and objects positioned at face height creates immediate disorientation for about $45 in materials and an hour of setup. Guests slow down, lose their sense of spatial orientation, and become primed for whatever comes next. The bathroom jump scare is one of the most reliably effective cheap Halloween props setups you can build: close the space down, add a single well-placed scare trigger, and every guest who walks in encounters it on their own terms. It runs about $19 in materials and thirty minutes of setup. In our experience, nothing in a DIY haunt consistently outperforms it.
Window Silhouettes and Outdoor Curb-Appeal Scares
Black poster board cutouts placed behind lit interior windows create a powerful first-impression scare before guests reach your door. Simple shapes, a witch, a figure standing still, a hand pressed against the glass, read clearly from the street and set the tone for the entire haunt. Pair this with floating witch hat strings, boarded-up window effects using painted cardboard, and a dark entrance path lined with black landscape fabric. Curb-appeal horror is your haunt’s opening scene, and it costs under $40 to execute well. These are some of the most effective yard haunt ideas available at any budget level.
Step-by-Step Builds for Three Signature Homemade Haunted House Props
These three builds are proven, repeatable, and executable in a single weekend. Each one works as a standalone project or as part of a larger haunt. They were selected because they cover the three core fear mechanisms, disorientation, isolation, and environmental dread, and each one transfers directly to more ambitious builds as your haunt grows.
Setting Up a Fog Machine Effect
You need a fog machine, approved fog fluid, an extension cord, a GFCI outlet, and an optional timer or remote. Unbox and inspect everything before starting. Fill the tank to the marked line without overfilling, then place the machine on a flat, stable, hard surface away from any flammable materials. Plug it in and allow the heating element to warm up fully before triggering it. Test a short burst, then adjust placement and timing until the fog behaves the way you want. Fog performs best at ground level, drifting past tombstones or pooling at the base of a dark hallway entrance.
Building Hanging Ghost Silhouettes From Scratch
Materials: black poster board or cheesecloth, scissors, fishing line, tape or hot glue, a hole punch, and optional glow sticks or a small uplight. Choose your silhouette style, either a simple sheet ghost shape or a flat cutout, and draw the outline before cutting. Punch two small holes near the top of each piece and thread fishing line through, then reinforce the top edge with tape if the material is thin. Hang them at staggered heights from a porch overhang or ceiling. Backlight each one from below with a small spotlight or glow stick so they stand out sharply against the dark at night.
Constructing a Tombstone Yard Scene
Materials: XPS insulation foam or cardboard, a utility knife, gray and black paint, paintbrushes, wooden stakes or garden rebar, hot glue, and optional fake moss and cobwebs. Plan the layout first so you know where your focal points land in the yard. Cut rounded or jagged tombstone shapes, then pencil in epitaphs, cracks, and border details. Apply a gray base coat, then build depth with dark shading and chalk-white highlights. Attach stakes to the back of each tombstone so it stands upright at a natural angle. Scatter them at varying heights and tilts, then finish with cobwebs, scattered bone props, and a low orange spotlight aimed across the scene from ground level.
Lighting and Sound That Transform Any Room
Many DIY haunt builders spend their budget on props and treat lighting and sound as afterthoughts, but expert guidance consistently points the other direction. A foam tombstone under flat white light looks cheap. That same tombstone under an orange-gelled uplight with a horror ambient loop playing in the background looks unsettling in a way that sticks. Invest in these two systems early and your props will consistently perform above their actual cost.
Lighting Setups That Cost Almost Nothing but Change Everything
Replace standard bulbs with orange, red, or deep blue equivalents in any lamp near a prop or scene. Use flickering LED bulbs or battery-operated tea lights for candle effects without fire risk. Blacklight paired with UV-reactive paint opens an entirely different visual layer: paint hidden messages, handprints, or blood splatters that vanish under normal light and appear only under UV. Keep your room mostly dark and use uplighting from the floor to create dramatic shadows across walls and prop faces. One dominant color per zone works better than mixing every color at once.
Building a Spooky Soundscape on a Budget
A Bluetooth speaker playing a looped horror ambient track changes the mood of an entire room for almost no cost. Free and low-cost soundscape sources include itch.io horror ambience packs, Pixabay’s royalty-free sound effect library, Mixkit’s Halloween sound collection, and Ambient-Mixer, which lets you build custom audio mixes online without any editing software. Verify the licensing terms for each source before use, particularly for public-facing events. Layer your soundscape from the ground up: a low base of wind or deep rumble, a mid-layer of distant chains or whispers, and occasional foreground jump effects timed to transitions between rooms. The result is a sonic environment that primes guests for fear before a single prop registers.
Safety Rules Every Haunt Builder Must Know
A haunt that sends someone to the ER or starts a fire ends immediately, and the reputation it earns is permanent. Safety is not optional, and it is not complicated. Four consistent habits, applied before opening night, can greatly reduce the risk of haunt-related incidents.
Electrical Safety and Fire Hazard Prevention
Use only outdoor-rated equipment and UL-certified cords for any exterior setup. Plug everything into GFCI-protected outlets. Inspect every cord for fraying, exposed wiring, or damage before use and discard anything compromised. Never daisy-chain extension cords beyond their rated load or overload a circuit. For fire risk specifically, keep heat-producing lights away from cheesecloth, hay, and dried foliage. Keep a fire extinguisher within 25 feet of any fog or electrical equipment. Avoid open flames near loose fabric props entirely. Applied together, these habits address the most common sources of haunt-related incidents before they have a chance to develop.
Handling Trip Hazards and Outdoor Yard Displays
Any cord crossing a guest path must be buried, covered with a cord protector, or elevated above head height. Loose props must be secured so they stay in position and do not become obstacles when bumped. Plan clear exit routes through your haunt before anyone walks through it, and mark them so they are visible even in your darkest zones. Outdoor setups accessible to the public require outdoor-rated components as a baseline, not a nice-to-have. Run different zones on separate breakers when possible so a single trip doesn’t kill the whole haunt.
From One-Night Build to a Year-Round Horror Aesthetic
The mindset shift that separates casual decorators from committed haunt builders is simple: every prop you make this season is an investment in next season. Tombstones, ghost silhouettes, lighting rigs, and sound systems are all storable and improvable. Clean and dry your foam props before packing them, store them vertically to prevent compression, and keep small hardware and removable pieces in labeled plastic bins in a dry, temperature-stable space. Each year, you add one more strong element to a growing collection rather than starting from zero.
Why Halloween Lifestyle Fans Think Beyond October
The culture of year-round Halloween aesthetics is real and growing. Gothic home styling, spooky seasonal decor that carries into fall and winter, and treating haunt-building as a continuous creative practice, these are markers of a community with its own standards and references that go well beyond a bag of plastic spiders. This is the community The Dark Threshold was built for, and it shows up here twelve months a year.
Where to Keep Building After the Props Are Packed Away
The Dark Threshold is the year-round destination for haunt builders who want to go deeper between seasons. Halloween DIY guides, horror decor deep dives, dark culture content, and coverage that treats this as an identity rather than a single night, it’s all here, updated consistently, built for readers who already speak the language. Bookmark it now and return when the inspiration for next year’s build starts forming, because it always forms earlier than you expect.
Start With One Strong Decision and Build From There
The best haunted house builds share one habit: the builder chose a scare role for each room before spending a dollar. From there, the framework runs itself. Invest in fog, darkness, and sound first. Add your signature props once the environment is set. Build to last, store correctly, and let the collection grow season by season.
Safety and reusability are not constraints on your haunt, they are what make it better over time without making it more expensive. A well-maintained tombstone yard that goes up clean each October beats a new set of cheap props assembled the night before every time.
Whether this is your first halloween haunted house diy project or your tenth, the craft always has another layer to explore. The threshold between an average setup and a genuinely immersive experience is closer than most builders realize, and the projects in this guide are where that crossing begins. Start your build today.
Leave a Reply